The chopping board, the staple piece of the humble homegrown chef. Whether you’re chopping, carving, or simply utilising as a centrepiece for a sharing platter, the chopping board, through everyday use, takes a fair amount of beating!
Which begs the question, which is better? Wood or Plastic? In the following blog, we will cut through the conjecture, providing you with some convenient pros and cons so that you can make the most informative decision possible for your next chopping board purchase.
Spoiler alert! Hang with us till the end for an added feature that will truly put your chosen chopping board to the test!
Wooden Chopping Boards
The greatest appeal of a quality wooden chopping board is, perhaps, its aesthetic appeal. They are often very pleasing on the eye and more comfortable to use, as the heavier weight will allow for greater ease when chopping heavier ingredients.
In terms of safety and resilience, a kitchen knife in use slices through the fibres of the wood, rather than damaging the surface. What this ensures is greater durability, which is only enhanced when the wood is suitably treated and maintained. Use of a work top oil will also allow for waterproof qualities, while the surface of the wood contains heat resistant properties, meaning they can sustain hot casserole and ovenproof dishes, ideal for “help yourself” meals.
From a hygiene point of view, they are also far superior (wood harbours the ability to kill off bacteria applied to its surface), while the use of an antibacterial worktop oil will only reinforce that characteristic.
Wooden chopping boards are also substantially more environmentally friendly. They present a more responsible purchase, often being sourced from sustainable forests, and, at times, even from salvaged materials. They will also naturally break down over time. Plastic chopping boards, on the other hand, are usually made from high and low density polyethylene, and will, despite no longer serving a function, remain in existence for hundreds, even thousands of years.
Really the only perceived downside of a wooden chopping board is the price. A larger board of high quality can get fairly pricey. Likewise, they can be rather bulky and heavy, presenting a possible issue with regards to travel and portability. Of course, this is all rather relative. Their higher price is a statement of their combined qualities, and the simple truth is that these products have the potential to last for the rest of your life.
Plastic Chopping Boards
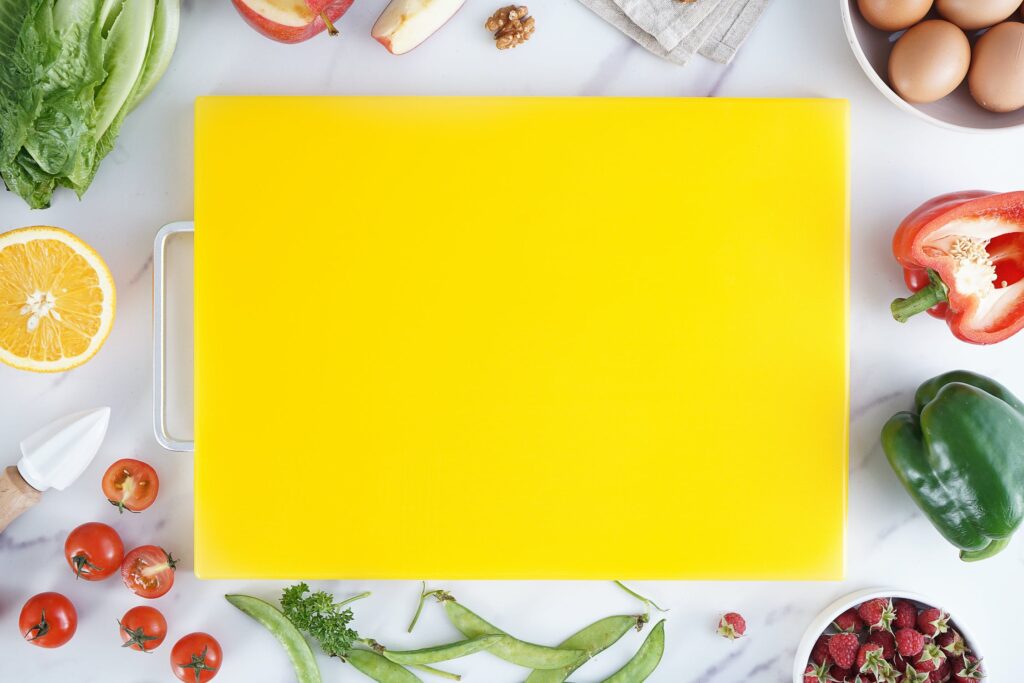
Plastic chopping boards present a far more cost-effective option, with more aesthetic variety in terms of colour and style. The ability to purchase and utilise multiple boards for different ingredients also prevents the risk of cross-contamination.
As opposed to their wooden alternative, they are lightweight and lesser in size, meaning they are easily portable. Additionally, they are typically dishwasher friendly. Whilst this ease of washing is seen as a pro for many households, what lets plastic chopping boards are their hygienic frailties over time and their lack of durability.
The plastic material is far less resistant than wood and very susceptible to damage through use. The use of kitchen knives also runs the risk of transferring microplastics into the food you are preparing. While there is no scientific evidence as of yet to suggest this is overly harmful, it’s certainly not ideal.
While plastic chopping boards are non-porous and, as such, easy to wash, the marks and idents they sustain through use can, in turn, become difficult to clean. Each cut also has the potential to develop into a hotspot for bacteria. Once this occurs, they’re effectively useless as a surface for safely preparing food.
Conclusion: Naturally, we would recommend wood every day.
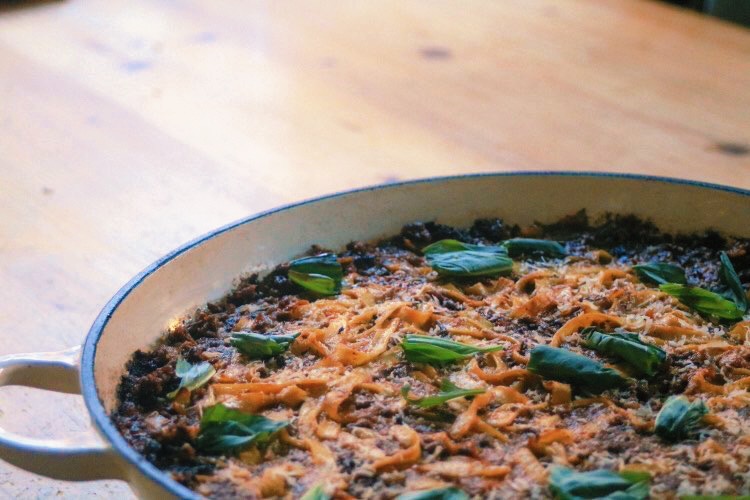
Recipe: Tagliatelle Bolognese Frittata
- 500g Lean Beef Mince
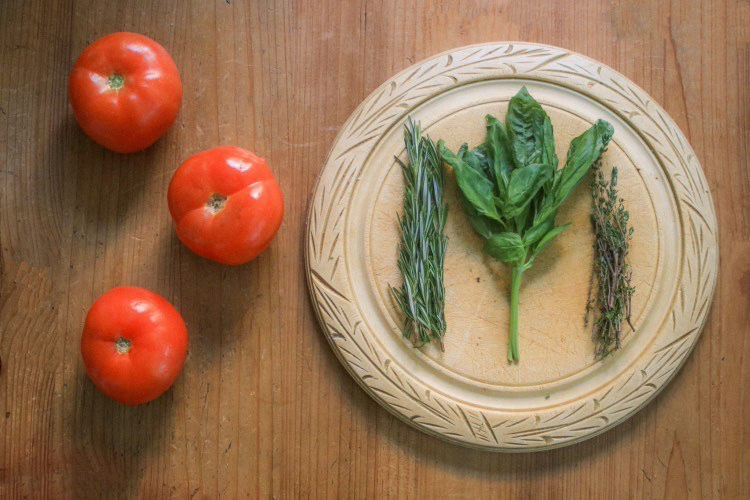
- 4 x Beef Tomatoes (Peeled and Chopped)
- 2 x Red Onions (Finely Diced)
- 250g Chestnut Mushrooms (Finely Diced)
- 280g Sundried Tomatoes
- 2 x Garlic Cloves (Finely Diced)
- 2 x Sprigs of Rosemary (Finely Diced)
- 6 x Sprigs of Thyme (Finely Diced)
- Handful of Basil for Garnishing (Carefully Torn)
- 250g Tagliatelle
- 500ml Beef Stock
- 100ml Red Wine
- 50ml Balsamic Vinegar
- 2 x tablespoons Tomato Paste
- 1 x Teaspoon of Worcestershire Sauce
- Olive Oil
- Salt and Pepper
- 50ml Creme Fraiche
- 2 x Free Range Eggs
- 25g Parmesan Cheese
- Marinate the beef mince in the red wine and pickle the red onions in the balsamic vinegar. Refrigerate overnight. Drain off any excess liquid.
- Preheat the oven to 180ºC.
- Heat a little olive oil in an oven-proof pan on a medium heat. Add the rosemary, garlic and pickled red onion and cook for 5 minutes, stirring occasionally.
- Add the marinated beef mince, breaking it up with the back of a spoon. Cook until the meat starts to brown and the wine is cooked off.
- Add the chestnut mushrooms and cook for a further 2 minutes.
- Add the beef stock, tomato paste and Worcestershire sauce. Stir and leave to simmer.
- Drain the sun-dried tomatoes into a food processor, blend to a paste, then add to the pan with the peeled tomatoes. Stir well, breaking up the tomatoes. Season with salt and pepper.
- Cover with a lid then place in the oven for 1 hour.
- About 10 minutes before the time is up, cook the tagliatelle in boiling salted water.
- Once the tagliatelle is cooked, drain, and set aside. Remove the bolognese from the oven. Combine the two, mixing together well.
- Whisk the cream and eggs together in a separate bowl until combined. Add the grated parmesan, then season with salt and pepper. Add the mixture to the bolognese pasta mixture and fold through, tilting the pan to cover the rest of the ingredients.
- In a separate oven-proof pan, heat a little olive oil. Pour the entire mixture into the pan and cook for 3-4 minutes to set the base or until you see the edges of the pan starting to set.
- Transfer the pan to the oven to bake for 15 minutes. Place a knife into the frittata, if the egg mixture still runs, it needs a little longer.
- Remove from the oven to cool for 5 minutes.
- Bon Appetit!
Need help with your kitchen worktop?
For more information about worktop finishes and their uses, contact our team of resident experts who are always on hand to help with project advice and product recommendations. Alternatively, see our worktop finishes FAQ page which covers many of the most commonly asked questions.
We love to see before, during and after photos of any wood finishing project. If you would like to share your project pictures with us and our followers, you can either send us some photos or share on our Facebook, Twitter, Pinterest or Instagram pages.
