Painting your fence doesn’t just have to be a Summer thing, it can be done at all times of year; at the end of the day, it’s better to be prepared for the limited warm days to come rather than paint it during them! So if you’re wearing shorts or if you and your parka have become inseparable but fancy painting your fence, you’ve come to the right place.
That’s because Wood Finishes Direct have the answers, with our step-by-step how to guide, product recommendations and usual expert advice.
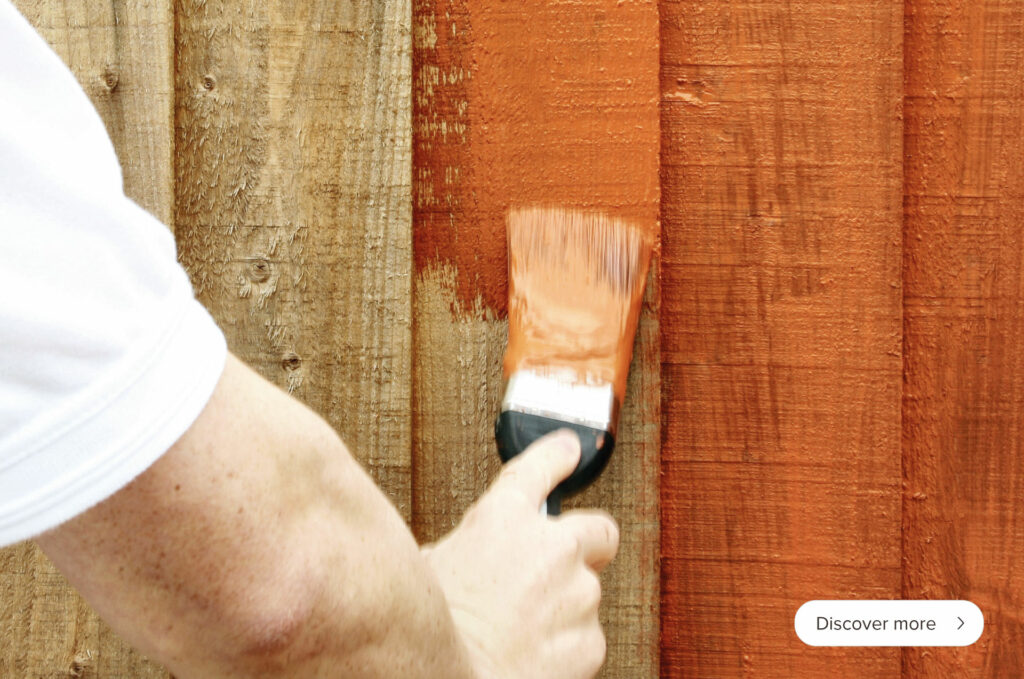
What You Need
- Sandpaper (wood dependent)
- Hose
- Plastic sheeting or something to cover the floor
- Fence Preserver
- Fence Paint
- Paint Brush
The Preparation Stage
In that all important preparation stage there are a few things you need to be aware of, firstly if your fence is rough, you most likely won’t need to sand your fence down. However, if you have a smooth wood, such as Cedar, you’ll need to sand your fence down before you can move on to the next stage.
It’s also vital you give your fence a quick clean with a hose to get any dirt or debris off the fence to ensure a smooth natural finish. We’d recommend you avoid using a jet wash as they can penetrate deep into the wood, which therefore will require excessive drying times. If you take the risk and the fence isn’t dry the paint and preserver will not bond to the wood properly, offering no protection and an overall pretty dreadful look.
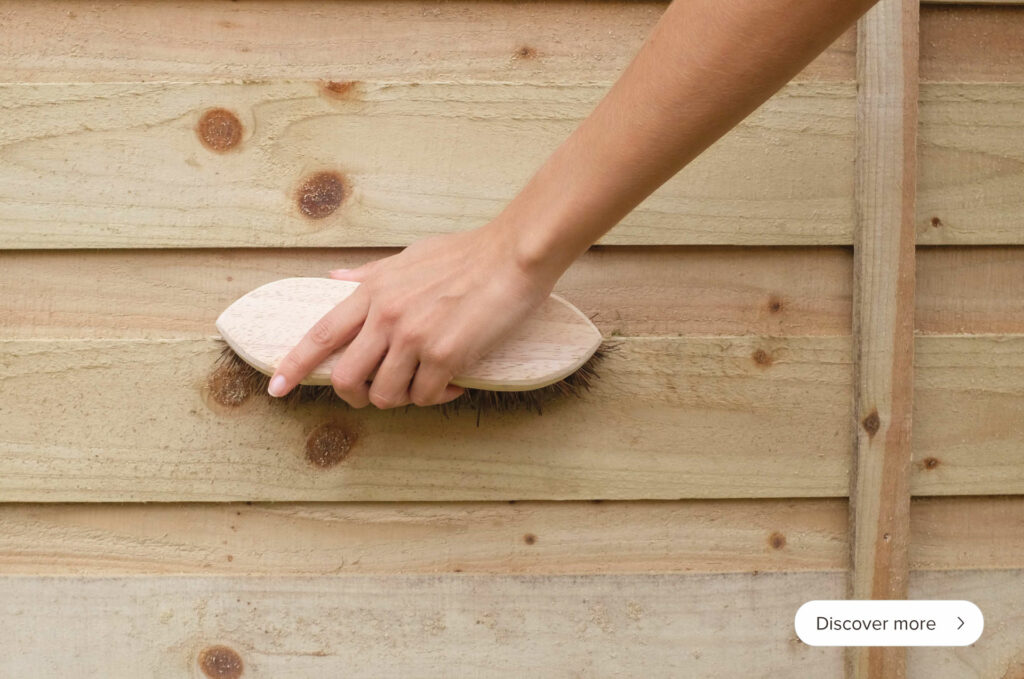
One last step before you can get the paint brush out is to put down some plastic sheeting or a cover below the fence to make sure you don’t get any preserver or paint on the floor.
Preserve and Protect
A good wood preserver will go a long way to making your fence last, providing it hasn’t been treated or is pressure treated already (common in rough sawn fences). In terms of options it’s no secret Barrettine’s Premier Universal Preserver Clear is comfortably one of the best out there, offering so much versatility to make it a perfect match with our chosen paint (more on that later). This formula specialises in nourishing and protecting your fence from contaminants taking over, providing lengthy and reliable protection.
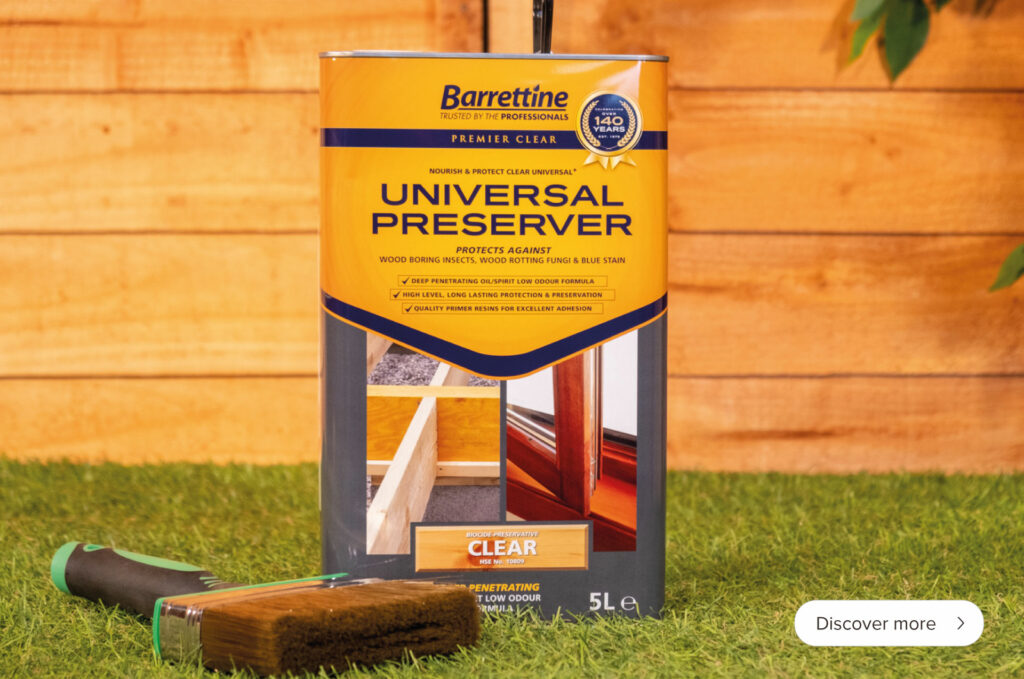
When applying this preserver, use a brush and make sure the temperature is between 10-30 degrees Celsius – anything below or above this will make it challenging for the preserver to dry properly. Make sure when applying the preserver that you follow the grain of the wood, so it can sink as deep into the timber as possible.
Once applied, leave 4-6 hours under normal weather conditions to dry. If you’re applying any product outside during the winter, anointing your fence on a day that’s windy will help the product dry quicker; this is actually more beneficial than a still day as usually there is more moisture in the air during the colder months which can slow down drying times.
This product and many other preservers on the market contain a high amount Volatile Organic Compounds (otherwise known as VOC), which essentially means it contains lots of nasty smelling solvents. So make sure you take the appropriate safety precautions when applying this product, such as wearing masks (especially if you have a health condition like asthma).
What Paint Should I Use?
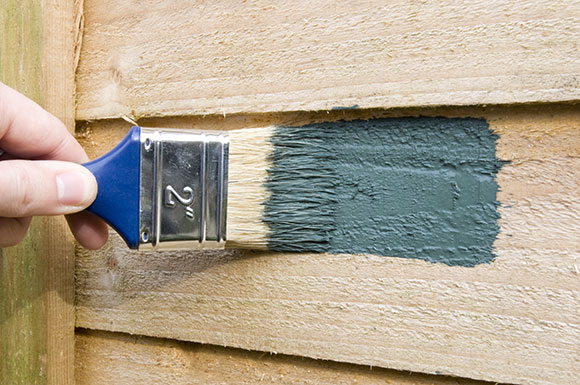
You’ve cleaned, preserved and now you’re at the stage you’ve been waiting for, applying your fence paint. If you’ve gone ahead and applied Barrettine Premier Universal Preserver, we’d recommend you top coat this with Osmo Garden Colour.
Not only does the paint have an array of bright and tantalising colours, it offers great weather protection, including preventing greying from the sun. What helps this product stand out from it’s competitors (helping justify its price tag), is the fact it can cover up to 16m² per litre, with an impressive drying time too of just 3 hours and 30 minutes too.
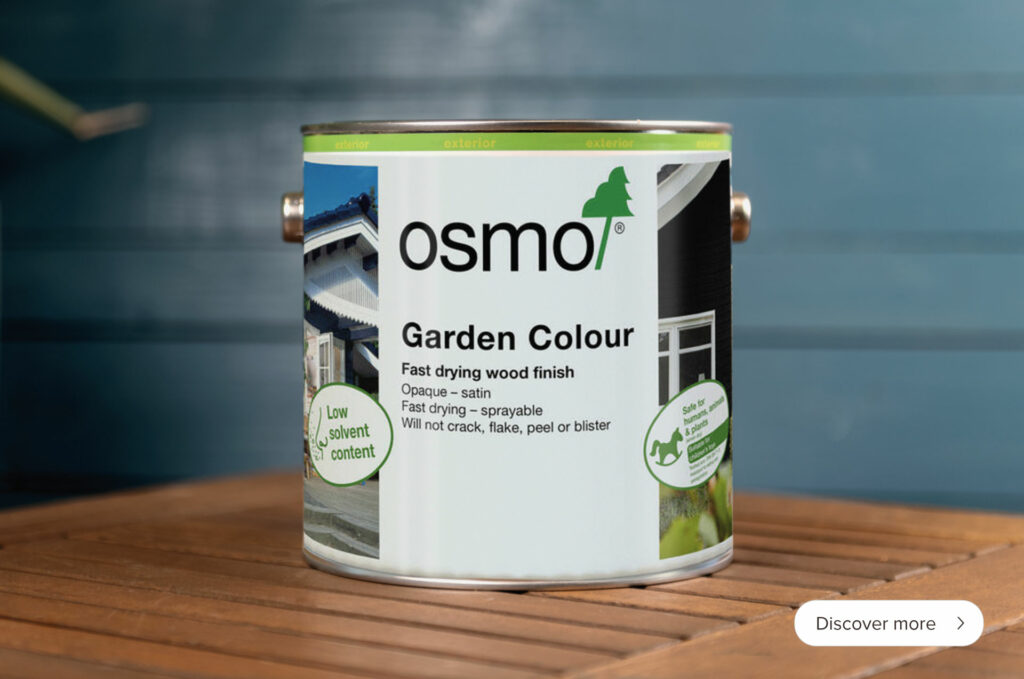
Unusually though, this water-based paint does have a High VOC, which is uncommon for products with a low solvent content, so take appropriate safety measures if needed.
Our full range of fence paints, treatments & finishes can be found here.
Fancy Using a Stain Instead?
Osmo Garden Colour is an opaque paint, so it will cover the grain more than a stain does, if you want a more natural look the Osmo paint may not be as beneficial to you, however Cuprinol 5 Year Ducksback stain will be perfect.
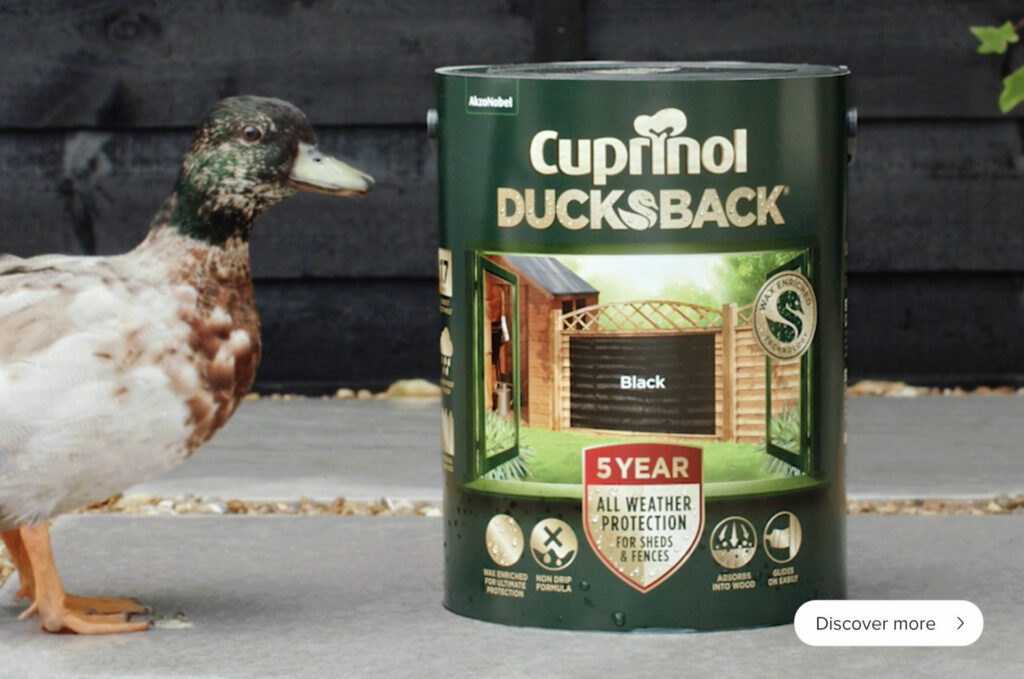
The main reason Ducksback has been specifically picked as our choice of stain is because it contains wax, which will make the fence water-repellent, a necessity if you live in the United Kingdom – while also being available at a reasonable price.
Ready To Paint?
Step 1
Do a test area first, get a small amount of paint onto your brush and apply it to a discrete area of your fence to make sure you’ll be happy with the end result before painting the whole fence and facing disaster.
Step 2
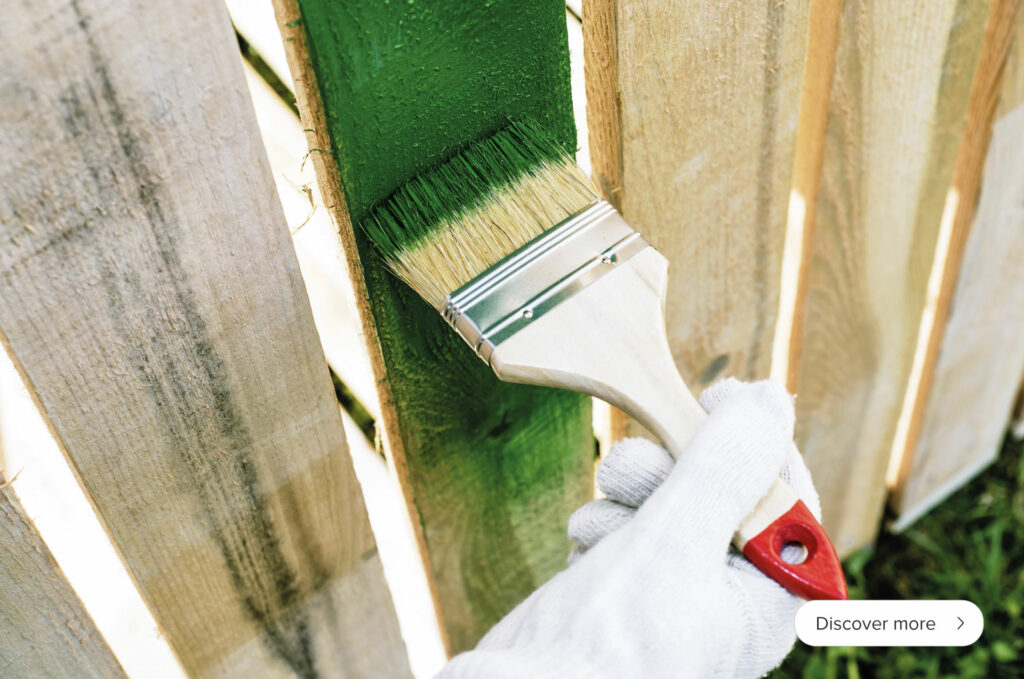
After you’ve done your test area, dip your paintbrush into the tin a bit further and start evenly applying your first coat of paint. Both paints and stains can be applied with a brush in the same way, by following the grain.
Step 3
After you’ve done your first coat, leave to dry for the recommended time on the tin. When you come back if you still feel it has not completely dried and still may be wet underneath the surface, leave it until you’re 100% satisfied. Otherwise you run the risk of the second coat not bonding and therefore not providing adequate protection.
However if you’re applying Cuprinol’s Ducksback stain or another formula containing wax, make sure you apply the second coat within 7 days of the first coat, otherwise the first wax coat layer will cure and both coats wont adhere to each other.
Step 4
Now your first coat’s dry, it’s time for denibbing. What’s that you say? Get your sanding abrasive ready and watch this handy video by one of our experts if you want that sleek ultra-smooth finish.
Denibbing is an excellent way to make your finished timber look as smooth as possible, it’s a way of removing any imperfections or ‘nibs’ in-between coats – resulting a first class smooth finish if done properly. It’s not necessary, but will go a long way for a sleek finish.
Step 5
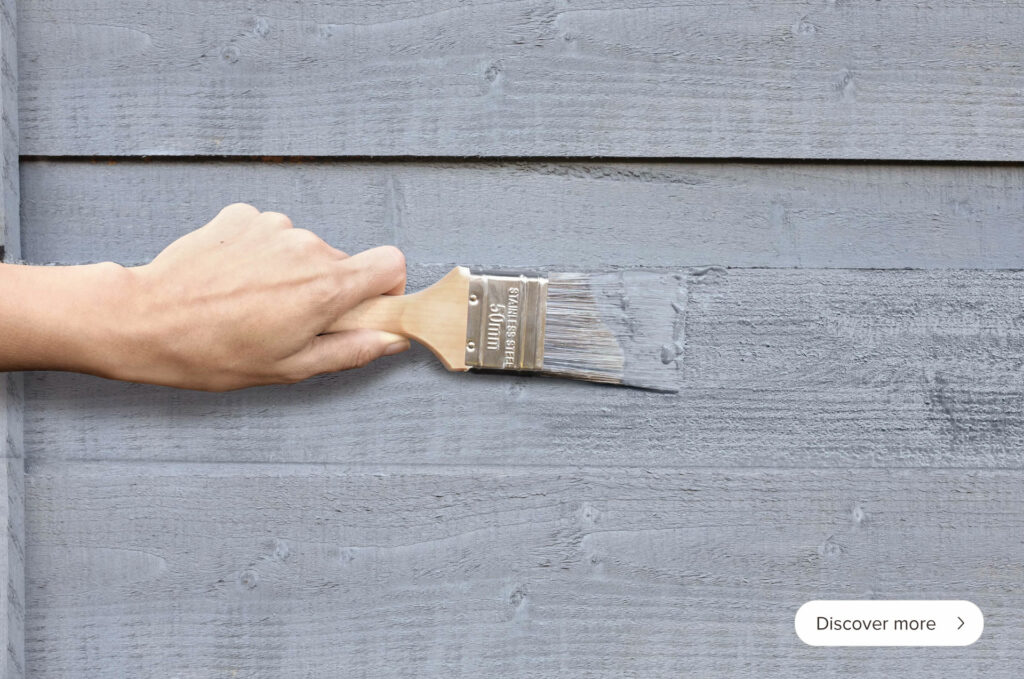
You must feel like an expert after step 4? Well, back to the slightly more straightforward stuff now, get that second coat of paint on and leave it to dry making sure you follow the grain. Most paints recommend at least 2 coats for the best protection, some even require 3.
Step 6
Time to do some denibbing again, get that done and if you only need 2 coats, you’re all done! You’re fence wont only be protected, it will look fantastic.
If you need 3 coats, just repeat Step 5 and Step 6 again and you’re all done.
Expert Tip – Decking Oil For Your Fence?
If you’re looking at applying an oil to your fence for a more natural look, you can actually use Manns Premier UV Decking Oil and it does a great job!
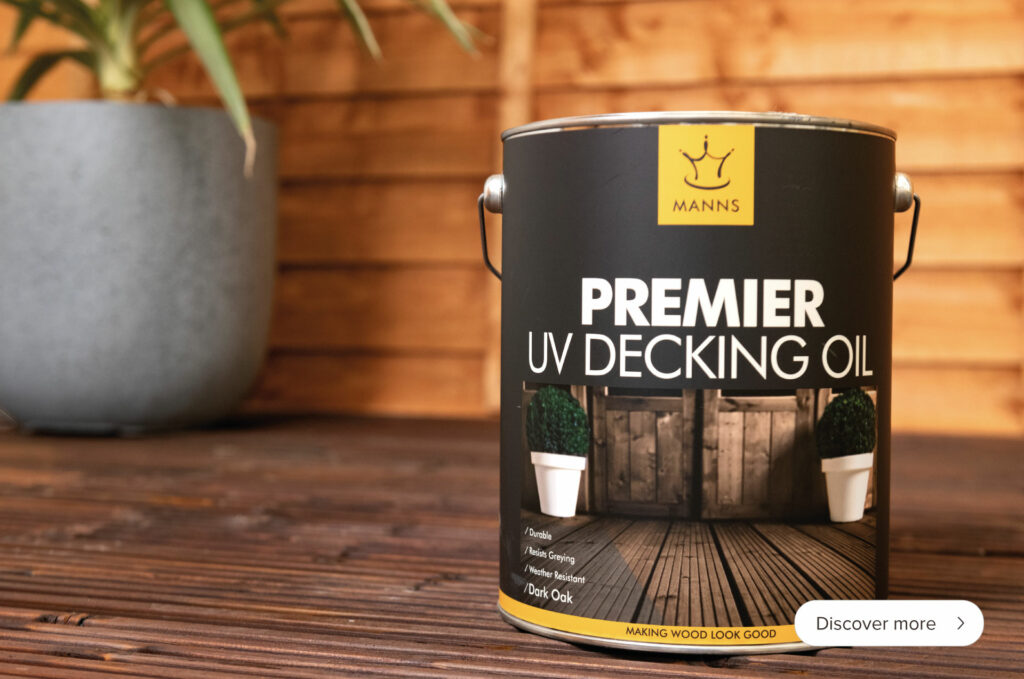
It may have decking slapped across the tin, but it actually contains everything you’d want for fence protection and it’s available at a cheaper price point to comparative fence oils.
We hope you found this article informative and helpful. If there is any specific products or projects you’d like more information on, please don’t hesitate to contact our experts at orders@wood-finishes-direct.com or on 01303 213838.


I read your summaries but I am still bemused. I have tanalised structural timber underneath grey plastic flooring, in a first story balcony.
I want the structural timber to go grey to match the plastic flooring above.
What products to consider please?
Good Morning,
Thank you for your enquiry. Please pop us over some pictures by email as I am unsure if this is an interior or exterior project. I can then advise you on the best products to achieve your matching finish.