British weather can be brutal- especially for your garden. Most of us put off garden projects until the warmer months but as of July, we haven’t had a summer yet in 2024.
This can leave our sheds, fences and patios covered in dirt and grime. If not adequately preserved, rot and decay can quickly set in.
If your fence has seen better days, it can feel like a long, complicated process to try and restore it. But it doesn’t need to be, you can take your fence from drab to fab- in just a few simple steps!
Step 1: Cleaning
Over time, your fence will become caked in a thick layer of dirt and mould. This is especially common in prolonged bad weather. To fully restore your fence, it is important to start with a clean base. Using a specialised cleaner on your panels will rid the wood of any lingering dirt or mould that could end up ruining the integrity of your wood.
We recommend the Barrettine Mould and Mildew Cleaner. We love this product as it removes all dirt, mould, algae and fungi, meaning you don’t have to worry about having multiple products for just one task. With a ready-to-use formula, this product can be used on most surfaces such as timber, stone, tile, brick and plaster.
Step 2: Reviving
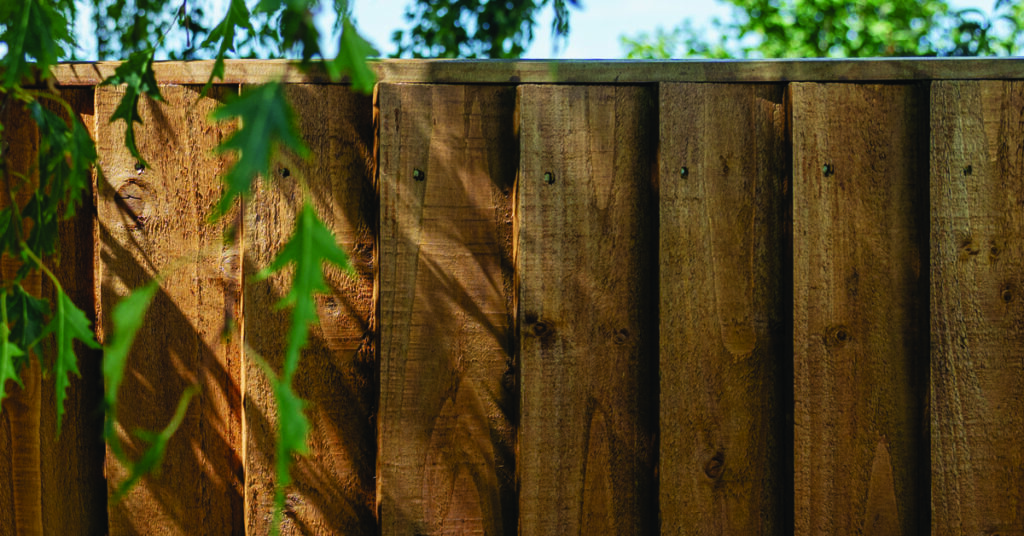
Now that we have cleaned our fence panel, it is time to start with the reviving. Using a specially formulated wood reviver will make all the difference to your timber so be sure to not miss this step! Wood revivers work by restoring the damage that has occurred from UV rays and harsh weather conditions. Wood damaged by UV rays can often become discoloured and weak. Revivers are especially helpful if you are going to be using a translucent topcoat as a reviver will help even out the wood tones, avoiding patches of discolouration underneath the product.
We are big fans of the Osmo Wood Reviver Power Gel but there are lots of options available. This product is great for bringing colour back to your wood and giving you a clean canvas to work with. Removing grey patina from the timber makes a huge difference to your finished project and the Osmo Wood Reviver Power Gel works wonders on all exterior wood!
Step 3: Preserving
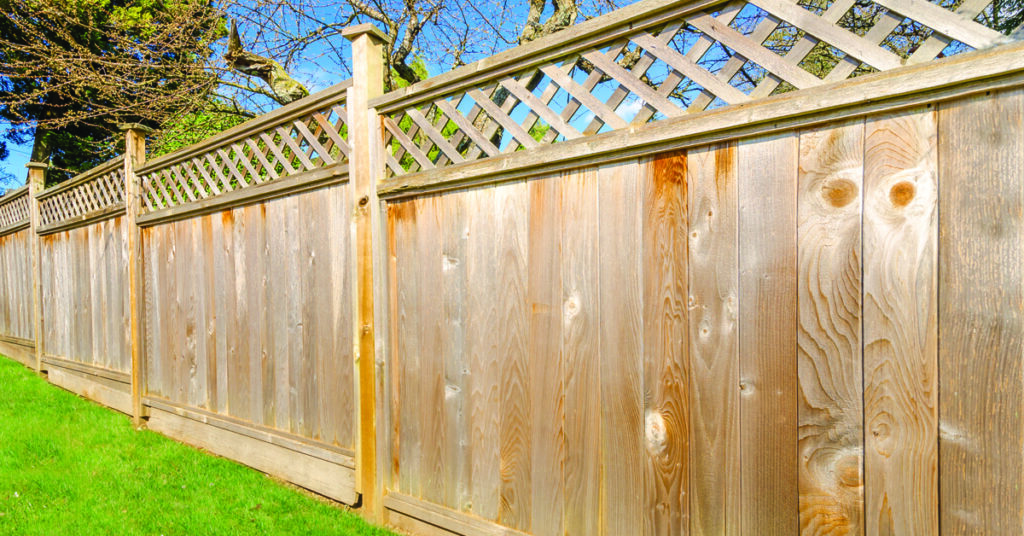
If a fence has clearly not been treated for several years, it is important to use a preserver. Preservers work by protecting the wood from weather damage, mould, fungi and wood-boring insects. Most timber comes pre-tanalised, meaning it has already been treated and does not need to be preserved. Preservers should only be applied approximately every 5 years.
Preservers must be applied to bare wood, meaning if any product remains, a paint stripper must be used before continuing.
When using a preserver, it is important to note the base of the formula and if the product contains wax. Products that contain wax cannot be topcoats with water-based products- the wax acts as a water-repellent and prevents the product from sticking to the surface.
We recommend using the Barrettine Premier Wood Preserver. Available in a range of colours, this product is a perfect basecoat that protects your timber.
Step 4: Top Coat
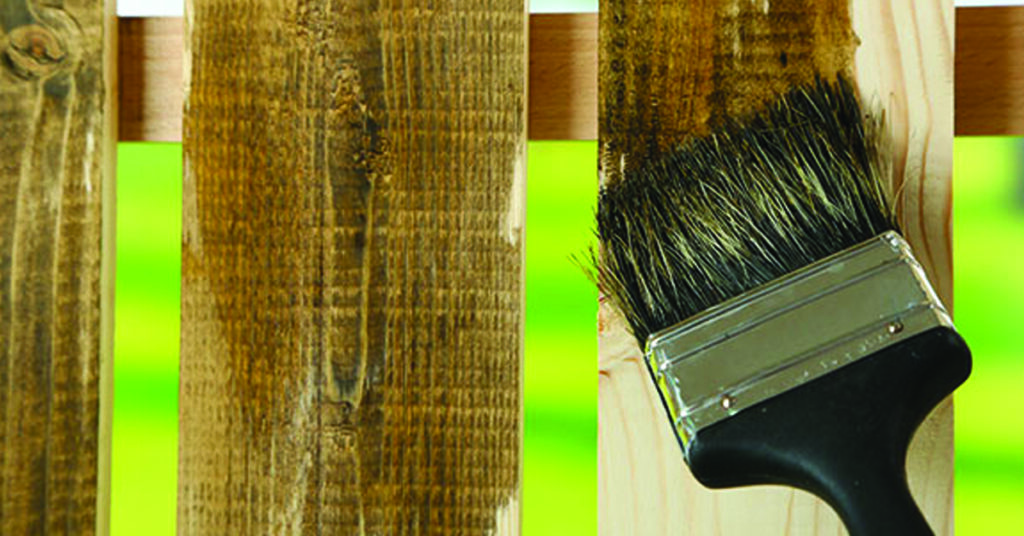
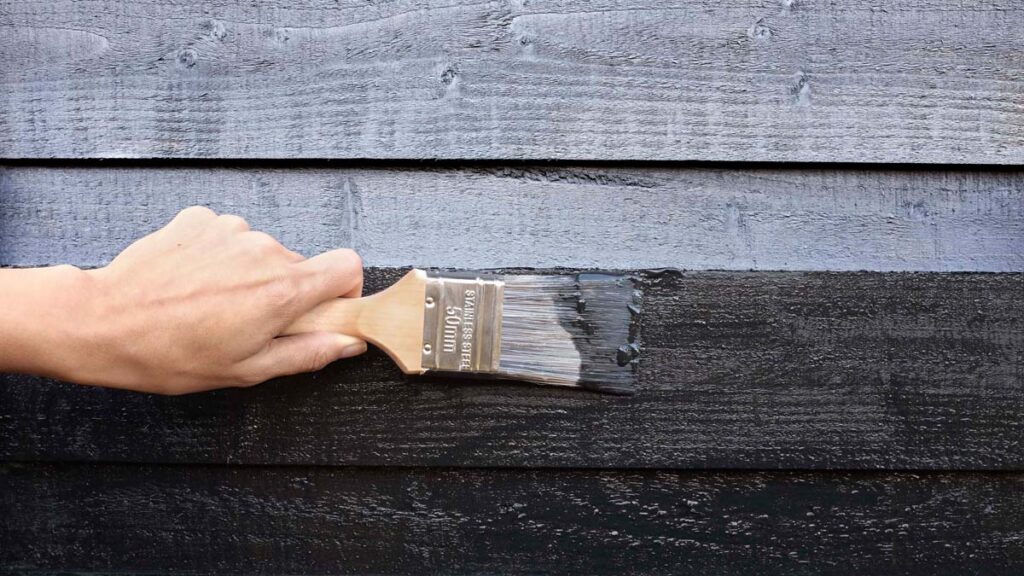
Due to the condition of this fence, we want to focus all our attention on preserving the wood for as long as possible. You could topcoat with an oil, paint or stain of your choice but for this, we recommend the Barrettine Wood Protective Treatment. This product contains fade-resistant colour pigments to protect against sun damage, and biocides to protect against growth of mould and algae. In terms of protection, these two products are the complete package- giving high-quality defence against the elements.
If you are working with a particularly battered piece of fencing, we recommend choosing a dark colour as your topcoat. Dark colours are a lot more forgiving than lighter colours, meaning you can squeeze a few more years out of your timber.
We hope you have found this article helpful. If you have any questions or need advice on a project, call our team of experts on 01303 213838 for free personalised advice.
To take a lot at our full-range of products, visit our website.


